As ultra-modular software, SimAssist offers the advantage of individual configurations and user-specific customization options. This principle is also reflected in the structure of the software.
The basic structure of SimAssist is presented below, together with an explanation of the relationship between the individual components.
Contents
The frame application forms the basis of the software and provides a framework in which the entire project and individual modules and their plug-ins can be used and managed.
This primarily means that the entire project – the creation, opening, saving or export of a given project, for example – is managed at frame application level.
The frame application is divided into the following areas:
•Main Menu
•Plug-in Library
•Project Window
•Plug-in Window
Figure 1 shows the basic, schematic default layout of the frame application, which can be customized as and when desired.

Figure 1 - Schematic layout of the frame application
The main menu (see Figure 2) is the superordinate administrative and management element of SimAssist. Here, you can create a new project or save, close or export a current project, for example.
It also offers access to SimAssist’s options and provides an upgrade component, via which you can access the latest versions of SimAssist.
A detailed description of the main menu and its individual interaction elements can be found in the Menu section.
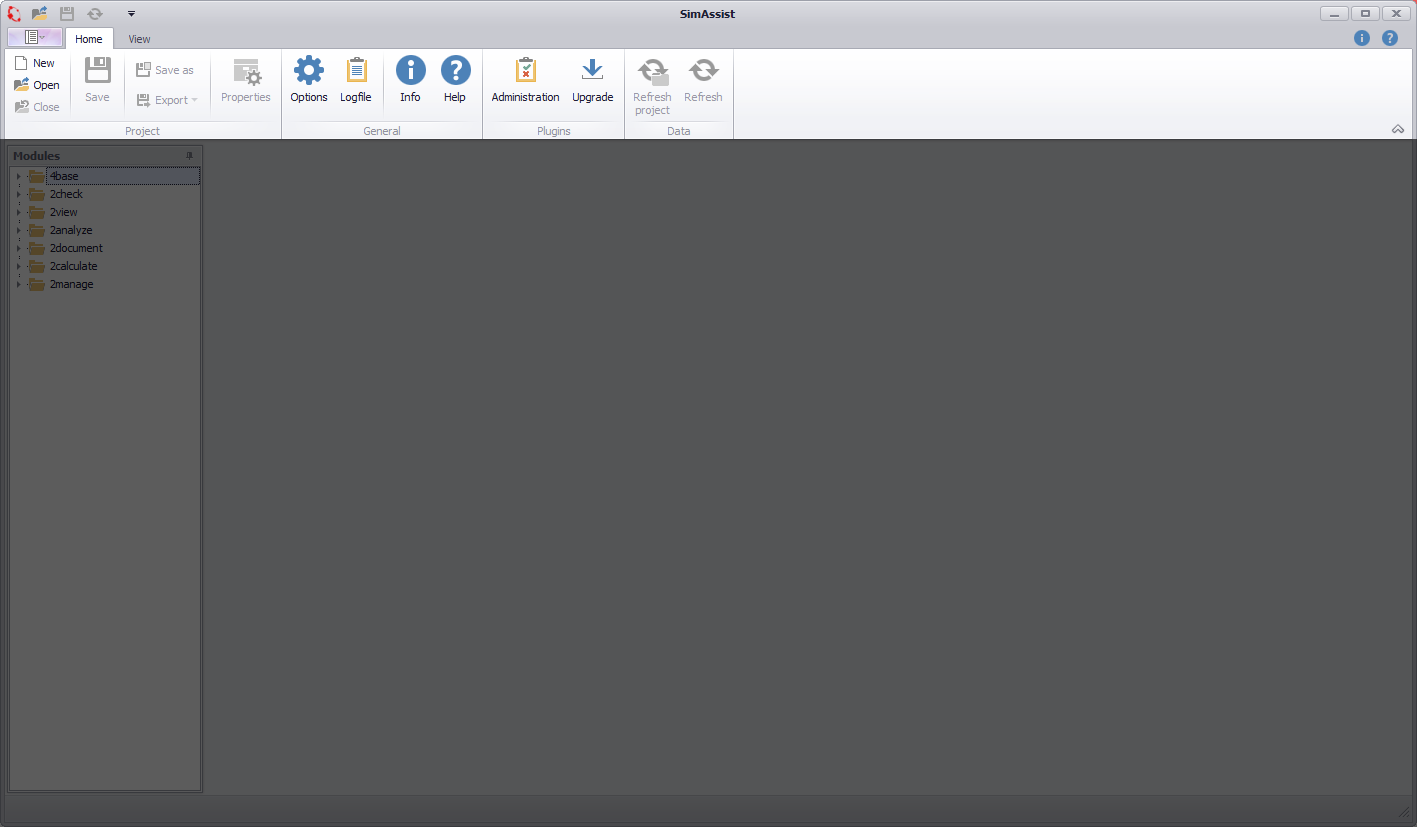
Figure 2 - Main menu in the frame application
All the available plug-ins are listed in the plug-in library, sorted by module. The size of the library depends on modules licensed and can be tailored to your individual requirements.
From the library, the individual plug-ins can be added to a project, and thereby released for use. You can find detailed documentation about the plug-in library in the Plug-in Library section.
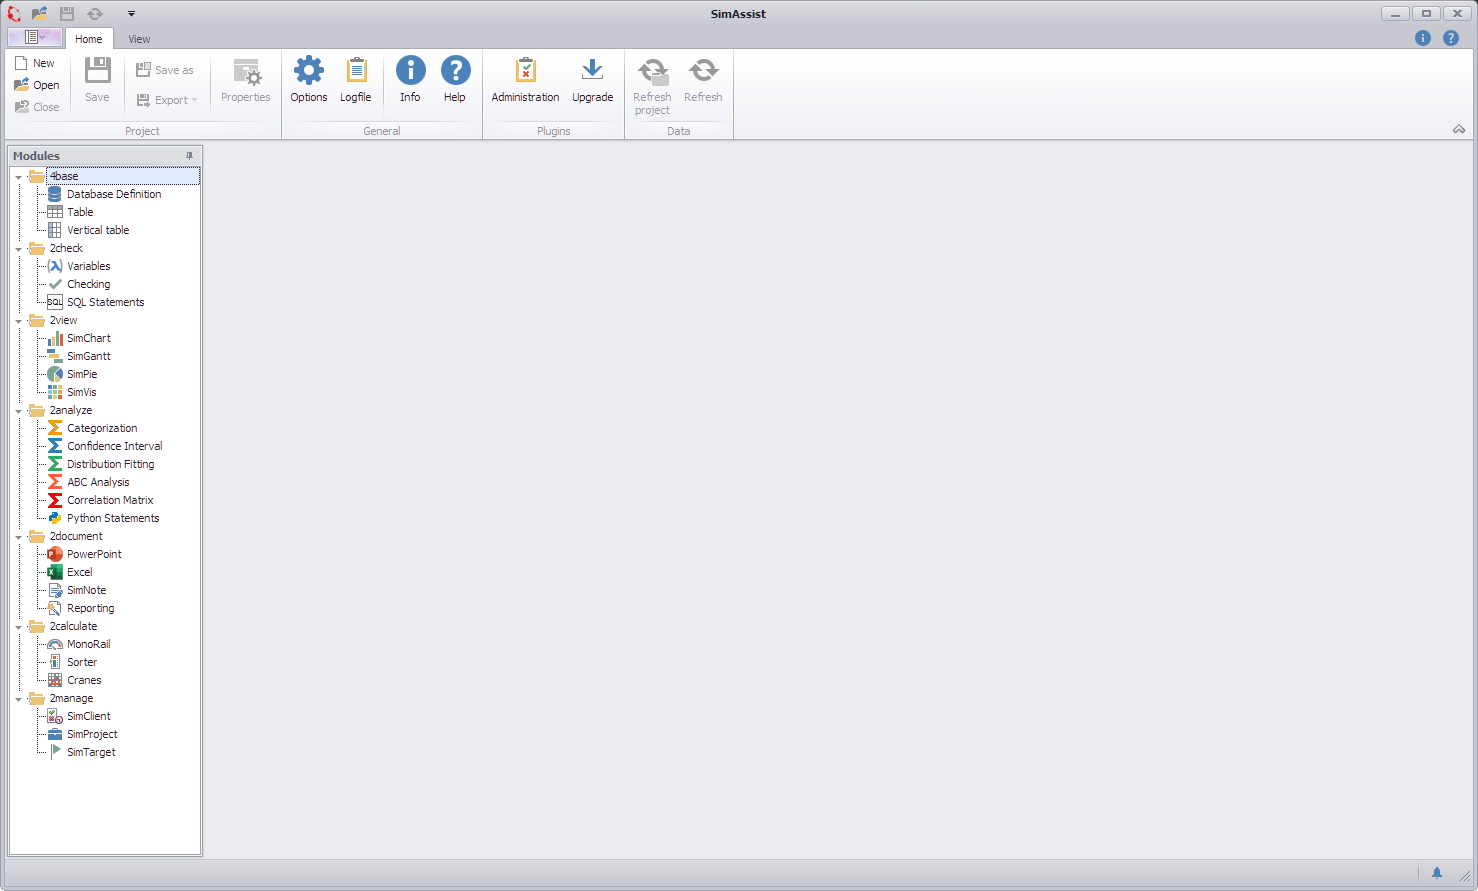
Figure 3 - Plug-in library containing the modules and related plug-ins
The project window represents the current project. All the plug-ins that have been added to the project are listed here.
To keep track of the project, you can organize the project content by creating separate folders, including sub-folders.

Figure 4 - Project window containing the plug-ins assigned to the project
The plug-in window is the interface to the selected plug-in. Here is where the actual data editing and processing takes place, visualizations are created and the Wizard functions accessed.
The layout of the plug-in window differs depending on the relevant plug-in selected and is specifically optimized for the use and functional scope of the plug-in in question.
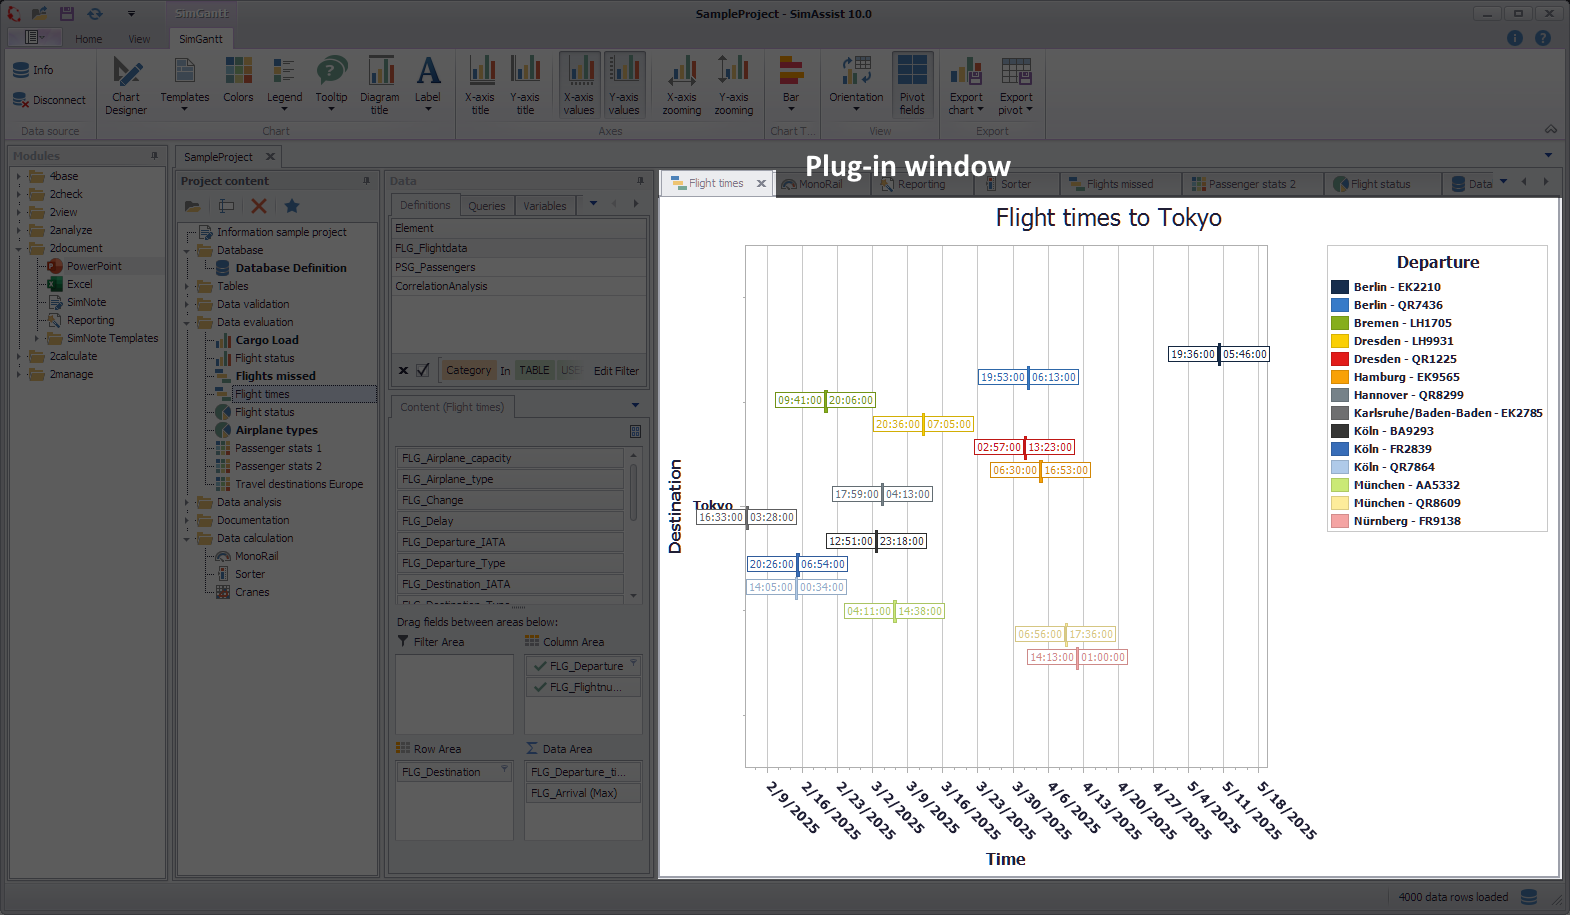
Figure 5 - Plug-in window; here, as an example, the window for the SimGantt plug-in
© SimPlan AG - Hanau District Court, Commercial Register (Part B) 6845 - info@simplan.de - www.simplan.de/en