Below you will find the instructions for the Python Statements plug-in.
|
Information In order to work with the plug-in, some requirements must be met. Details can be found in the Python chapter. |
Contents
1. Introduction to the plug-in
4. Create and edit new statement
5. Execute Python scripts online
1. Introduction to the plug-in
With the help of the plug-in Python Statements, Python scripts can be read and processed. The scripts and the parameters they contain can be manipulated and executed via a graphical user interface.
The results of the script runs can then be evaluated and visualized using the plug-ins available in SimAssist.
|
Information Since SimAssist version 9.0, it is possible to use some of the supplied scripts online without the need for a local Python installation. |

Figure 1 - Overview
The structure of the plug-in is divided into three parts.
In the upper area there is the menu, with different buttons for operating the plug-in, divided into the categories paths, queries and data. These are explained in more detail in 2.2 Plug-in menu.
In the area below on the left side is the data area. All data connected to SimAssist are listed here and can be added to the plug-in from here using Drag&Drop.
To the right is the plug-in window. This is where the actual work with the plug-in takes place.
The following table describes the functions of the individual buttons in more detail:
Button |
Description |
|
Opens the folder via Windows Explorer where the Python scripts are stored. Default path: ...\Plugins\p_sp_4python\Scripts |
|
Opens the folder via Windows Explorer where the Python installation is stored. This folder must be set in the options before using the plug-in for the first time. |
|
Opens the Windows Explorer to set the path to the local Python installation. Alternatively, this path can be set in the plug-in's options. |
|
Opens a dialog in which the server address can be entered to execute Python scripts online. For details, see Execute Python scripts online. |
|
Opens a new view to create a new Python statement. |
|
Opens a new view to edit the selected script. |
|
Copies the selected scripts. The new script will be added to the list of existing scripts, but will not be executed automatically. |
|
Deletes the selected scripts from the list. |
|
Resets the results of all scripts in the list, regardless of their selection/marking |
|
Resets the results of the selected scripts in the list |
|
Executes the selected scripts. While the scripts are being executed, the progress is displayed in the status bar. The X icon can be used to cancel the execution at any time. |
|
Executes all scripts in the list, regardless of the selection. |


The following table gives an overview of the possible status changes, as well as the elements of the overview list:
Name |
Description |
State |
The State column can indicate the following:
In case of an error, a short info about it can be displayed immediately by placing the cursor over the icon. In addition, the error is logged in the SimAssist log file. This can be called up via the SimAssist main menu using the Log file button. |
Data |
The database icon |
Name |
Name, which was entered in the Name area when creating the statement. |
Category |
Description text, which was specified in the Category area when creating the statement. |
Python script |
Name of the used script |
In this section the plug-in specific options are listed and explained:
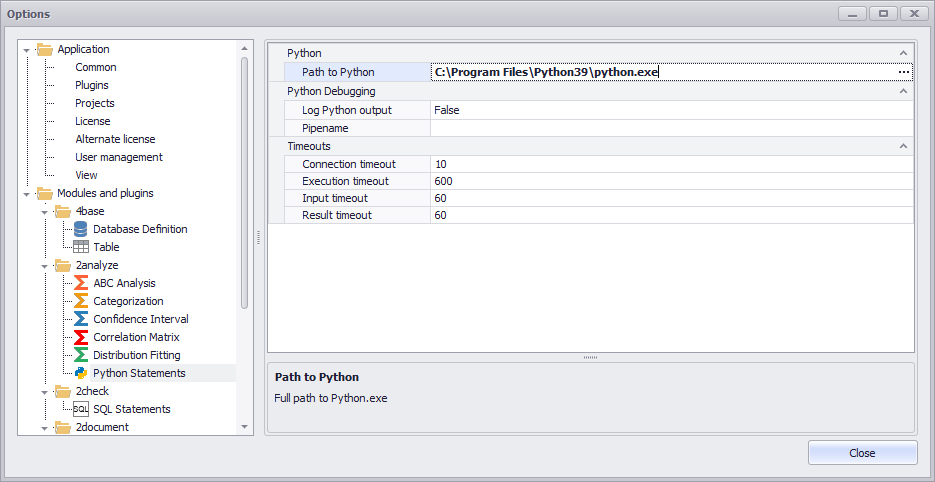
Figure 2 - Options Dialog
Option |
Description |
Python |
|
Path to Python |
Full path to the installed Python application (python.exe) |
Python Debugging |
|
Log Python output |
If enabled, console output from Python is written to the SimAssist log file. Console output can be very large and can affect how long the script takes to run. |
Pipename |
Leave empty to run the Python scripts automatically. An entered value defines the name of the pipe for the pipe server. This can be used to debug Python scripts. If the pipe is defined by a name, then the Python script must be started externally. |
Timeouts |
|
Connection time-out |
Defines a time in seconds [s] within which Python must connect to the pipe server. Default value: 10 seconds |
Execution time-out |
Defines a time in seconds [s] within which the calculation in the Python code must be completed and writing of the result must begin. Default value: 600 seconds |
Input data time-out |
Defines a time in seconds [s] within which Python must read out the input data via the pipe connection. Default value: 60 seconds |
Result time-out |
Defines a time in seconds [s] within which the result must be transferred over the pipe connection. Default value: 60 seconds |
4. create and edit a new statement
Clicking the New button opens a new view where a new Python statement can be created. The buttons in the category Paths in the menu have the same function as described in 2.2 Plug-in Menu
The button Test script tests the (new) Python statement. The difference between testing the script and executing it is that when testing the script, it also logs the XML data that is sent back and forth as the script is executed.
This detailed logging can make debugging easier if necessary (this function is only available with an existing, local Python installation).
Figure 3 - Creating a New Statement |
In the Name field, enter a name for the new statement. In the Category field, a category for the statement can be assigned. A description can be entered in the Description field
If the check box at Buffer result is set, all data in the memory will be buffered. If the check box is not set, the calculations are performed again each time the project is loaded.
A click on the line Python method or on the arrow icon
Clicking on the X-icon
Clicking on the three dotted icon
As long as no script is selected from the drop down, the display remains empty, as shown in the figure below.
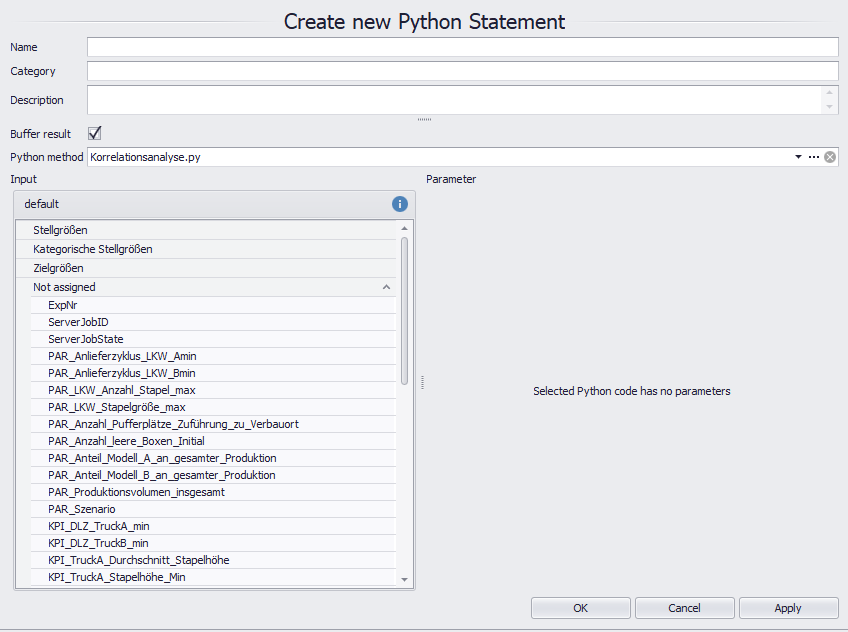
As soon as a script is selected, it is read out and displayed on the interface (see Figure 4). |

The contents shown in figure 4 depend on the respective script. How these contents can be parameterized is described in the chapter Script Reference.
To add data to a new statement, either entire tables or individual columns from the data area can be added to the plug-in via Drag&Drop (see Figure 5). |
Figure 4 - New Statement with Script |

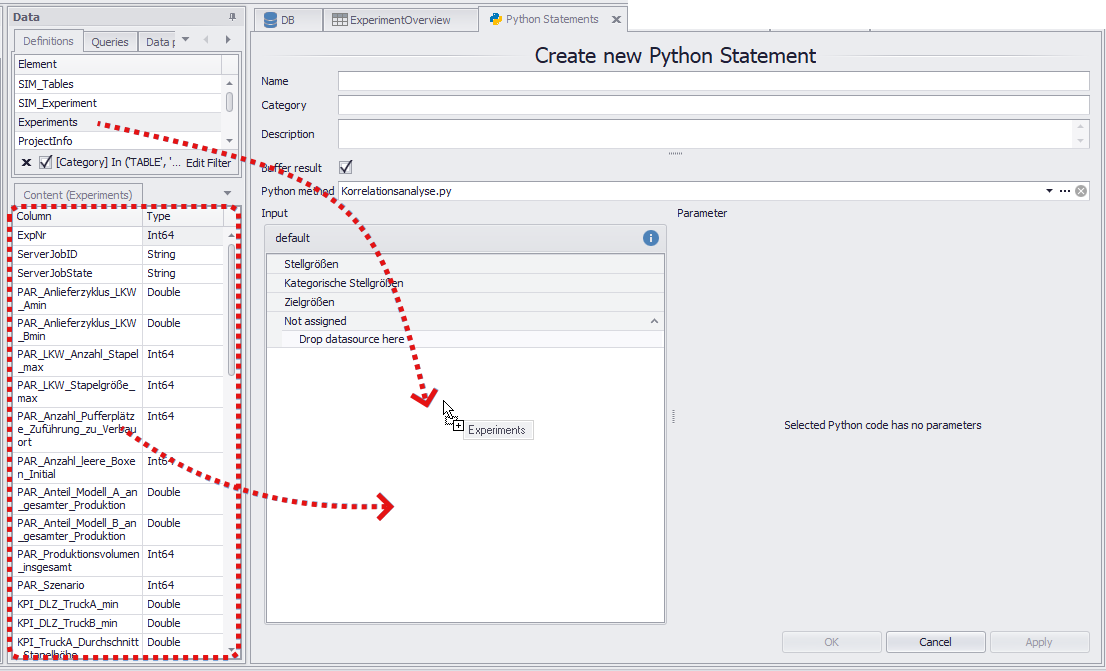
Figure 5 - Add Data to Statement
Afterwards all available columns from the table or the manually added columns are displayed (see Figure 6).
The data types stored in the Python script or required for the area can be displayed via the blue info icon ![]() .
.
For the ranges manipulated variables, target variables and categorical parameters, the specification [Numeric] means that only numeric data types are permitted in this range.
The [Int64] specification for the ExpNr column means that this column has the integer data type (see Figure 7).
Figure 6 - Data Added |
Figure 7 - Show Data Types |

Now, in this example, the available columns can be distributed from the Unassigned area to the available Actuating variables, Target variables and Categorical parameters areas using Drag&Drop.
The two symbols next to the cursor ![]() and
and ![]() indicate where the column to be moved will be inserted. It is also important from where the column to be inserted is dragged into the target area.
indicate where the column to be moved will be inserted. It is also important from where the column to be inserted is dragged into the target area.

Figure 8 - Distribute Columns
Once all areas are filled with columns, the buttons in the menu can be used to start the execution of the script.
Once the script has been successfully executed, the result data will be available via the data provider interface (Data Provider tab).

Figure 9 - Data Provider Interface
5. Execute Python scripts online
Via the button Connection a dialog opens where a connection to the server can be established.
The following address must be entered: https://simassist-python.simplan.de/
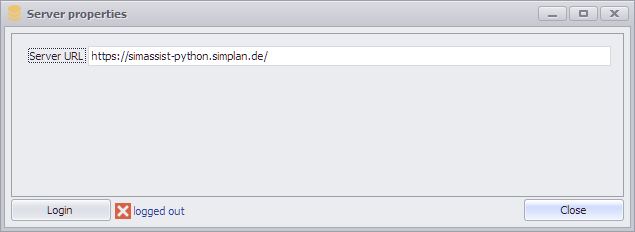
Figure 10 - Server dialog
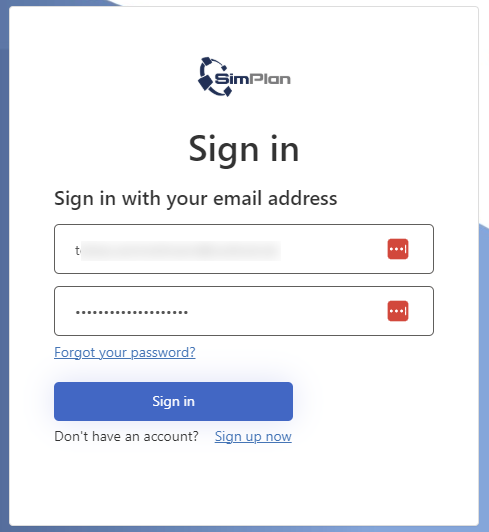
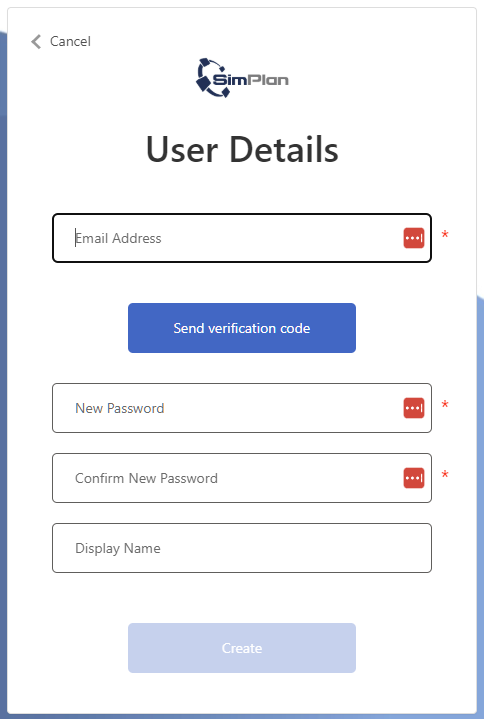
Click on Login to open the browser. There you can either log in with your existing account or create a new (free) account consisting of an e-mail address, password and optional user name
Figure 11 - Sign in |
Figure 12 - Register |
After successful login, a confirmation screen appears. The dialog in SimAssist now shows that the user is logged in. The created user account can be deleted at any time by clicking the Delete account button.
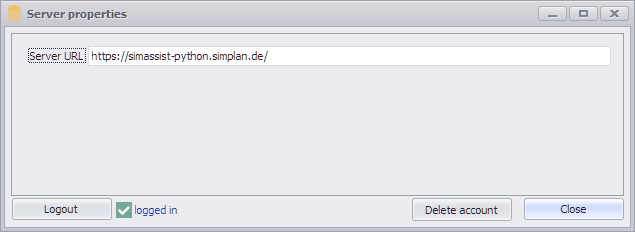
Figure 13 - Successful login
In this chapter, individual elements of a Python script are broken down and explained as examples.
The graphical interface to this script can be seen in Figure 10.

Figure 10 - Graphical user interface for script_reference.py
#pyplugin: If the script starts with '#2pyplugin', SimAssist will recognize it as a python script which can be executed with Pythondefinition plugin
#This line is ignored by SimAssist, but the '#Description' tag in the next line defines the description text.
#Description:This is an example script definition without python code.
#
# ----------------------------------
# --- Structure for parameters ---
# ----------------------------------
#Each line which starts with "Parameter:" defines one parameter, additional attributes are separated by pipe: i.e. #Input:Attribute1|Attribute2|Attribute3 etc.
#Attribute1: Parametername, supports i18n, i.e. <i18n><en>Title</en><de>Titel</de></i18n> (mandatory)
#Attribute2: Parametertype, supported types: string,int,double,DateTime,bool (default value: string)
#Attribute3: Default value for parameter (if not specified the default value of the type will be used)
#Attribute4: for string: Enumeration of possible values separated by ;
#Attribute4: for int,double,DateTime: Min;Max values for EditorControl, separated by ;
#Attribute5: Formatstring for EditorControl (where applicable), see https://docs.devexpress.com/WindowsForms/2141/common-features/formatting-values/format-specifiers
#Attribute6: Description, supports i18n, i.e. <i18n><en>Description of ...</en><de>Beschreibung von ...</de></i18n>
#
# --- Examples for parameters ---
#Parameter:Title
#Parameter:<i18n><en>Subtitle</en><de>Subtitel</de></i18n>|string|Latin hypercube sampling|||<i18n><en>Description of Subtitle in English</en><de>Beschreibung von Subtitel auf Deutsch</de></i18n>
#Parameter:Mode||Normal|Normal;Complex
#Parameter:Limit|int
#Parameter:Percentage|double|98.5|0;100
#Parameter:Evaluation|DateTime|today|today;12/31/2099 23:59:59
#Parameter:Effective date|DateTime|05/21/2014 22:09:28||d
#Parameter:Boost|bool|True
#
# ----------------------------------
# --- Structure for input fields ---
# ----------------------------------
#Each line which starts with 'Input:' defines one input-field, additional attributes are separated by pipe: i.e. #Input:Attribute1|Attribute2|Attribute3 etc.
#Attribute1: Name: Unique field name, supports i18n, i.e. <i18n><en>Title</en><de>Titel</de></i18n>
#Attribute2: Type: One of following values to limit supported column types: any|text|numeric|datetime|bool (default value: any)
#Attribute3: Min column count (default value: 0)
#Attribute4: Max column count (default value: int.MaxValue)
#Attribute5: Group ID: Any value to group input fields. Fields with the same group ID will accept columns only from the same table. Supports i18n. (default value: "default")
#Attribute6: true to load full table (all columns), false to load data only for requested columns. (default value: false)
#
# --- Examples for input fields ---
#Input:X-Values
#Input:Y-Values|numeric
#Input:Input Field 1|numeric|1|99
#Input:Input Field 2|datetime|1
#Input:Column from one table
#Input:Column from other table|any|0|1|other table
#Input:Some field|any|0|1|this table will contain data from all columns|true
© SimPlan AG - Hanau District Court, Commercial Register (Part B) 6845 - info@simplan.de - www.simplan.de/en