The following comprises instructions for the Excel plug-in.
Contents
1. Introduction to the plug-in
1.3 Position in the Overall Software Package
3.3 Sources and interaction area
3.5 Information for working with the plug-in
1. Introduction to the plug-in
The Excel plug-in allows you to export content from a table plug-in to an Excel document.
You can use the Excel plug-in to automatically transfer the contents of the table plug-ins to an Excel document. You have the option of using new or existing Excel documents.
1.3 Position in the Overall Software Package
The Excel plug-in is part of the 2document module, which also includes the SimNote, PowerPoint and Reporting plug-ins. Excel is available to you if you have licensed the 2document module for SimAssist.
The plug-in contains a link to the table plug-in.
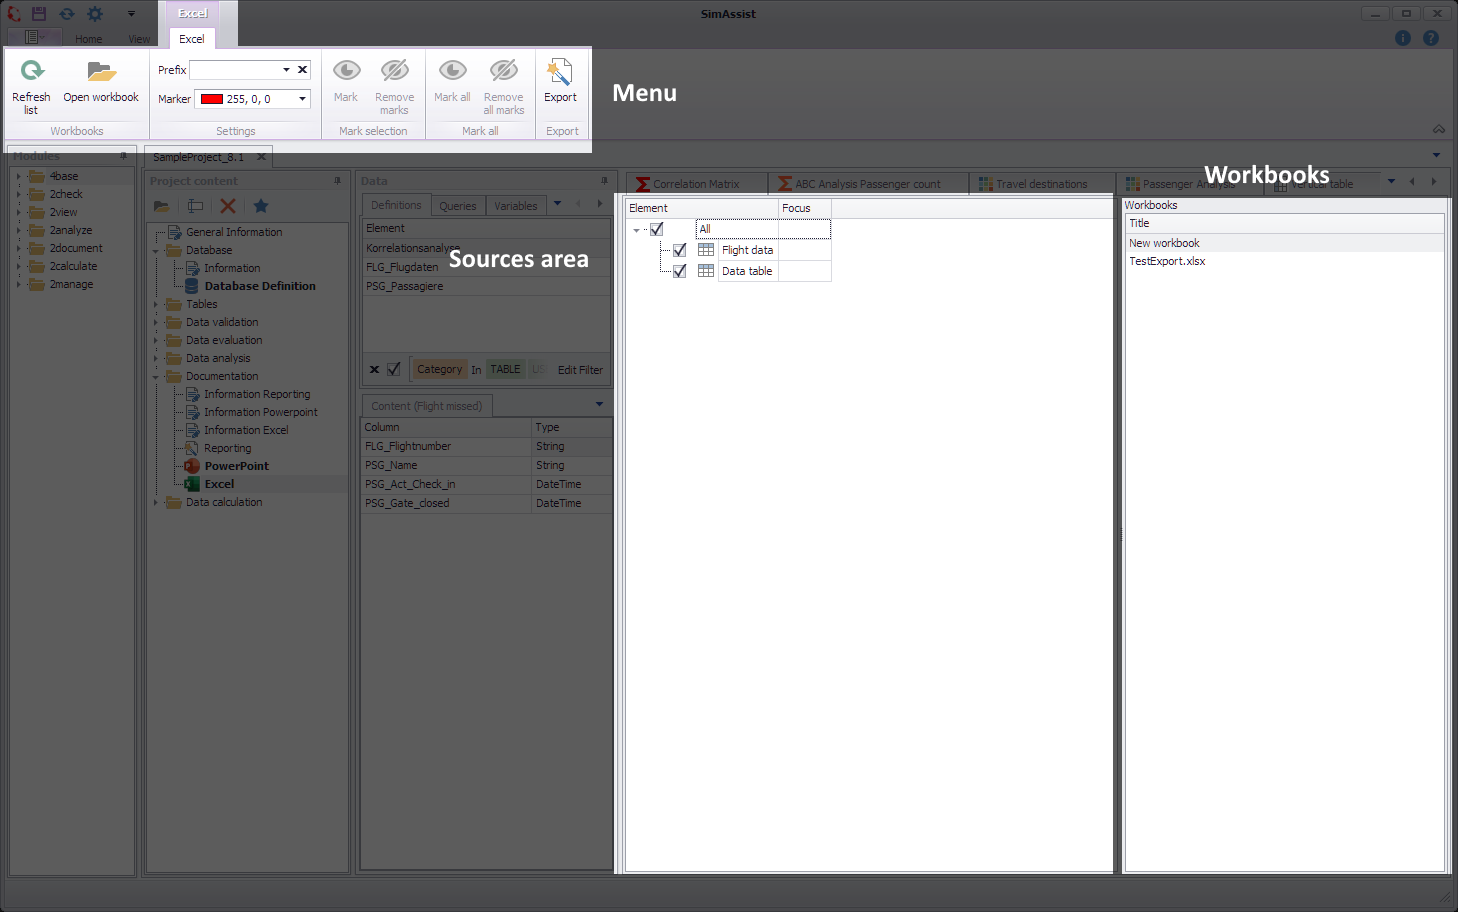
Figure 1 - Structure of the Excel plug-in
The structure of the Excel plug-in is divided into three parts. The plug-in menu can be found in the upper section. Among other things, existing workbooks can be opened here.
Below this is the source area of the plug-in. Use this area to specify which table plug-ins are to be transferred to the workbooks as content.
In the Workbooks area on the right-hand side, you can select whether you want to create a new workbook or continue using an existing one.

Figure 2 - Menu
Button |
Description |
|
Refreshes the list of open Excel workbooks |
|
Opens an existing Excel workbook |
|
Allows you to set a prefix, allowing workbook pages to be assigned and easily identified. For example, different sets of images can be defined, each based on the same source elements |
|
Here you can set the color of the marker |
|
Marks the elements selected in the sources in the selected Excel workbook with the color set in the Marker field |
|
Removes the set markers of the selected items in the Excel workbook |
|
Selects all sources of the selected Excel workbook, regardless of the selection in the source area |
|
Removes all markers of the selected Excel workbook |
|
Exports the elements selected to a Excel workbook |


You can select a new workbook or an existing, previously created or loaded workbook. The corresponding selection is made via the Workbooks area in the plug-in window (see Figure 3).
If you would like to use an existing workbook, please click on the Open workbook button in the plug-in menu.
The loaded workbook is then available in the Workbooks area (see Figure 3) and can be selected as the target for the export.
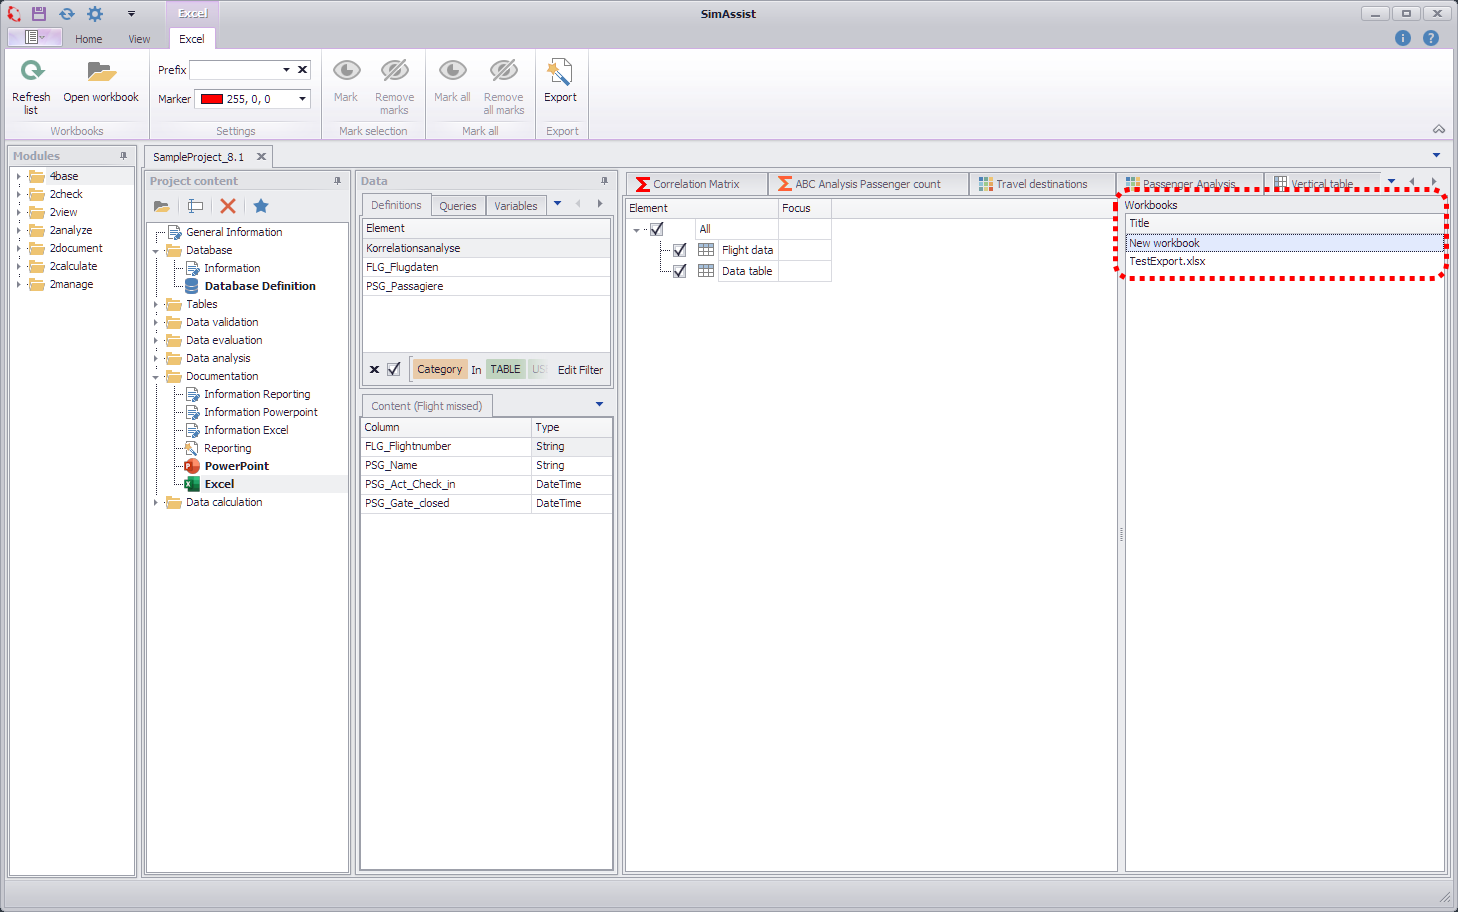
Figure 3 - Workbooks
To add data to your workbook, simply drag the desired table plug-in from the project content window into the Sources area (see Figure 4).
Alternatively, starting with SimAssist version 10.1, you can drag the desired plug-in or folder directly onto the Excel plug-in. This process also adds the plug-ins as sources.
You can then activate or deactivate it individually in the Sources area by ticking the box next to each element.
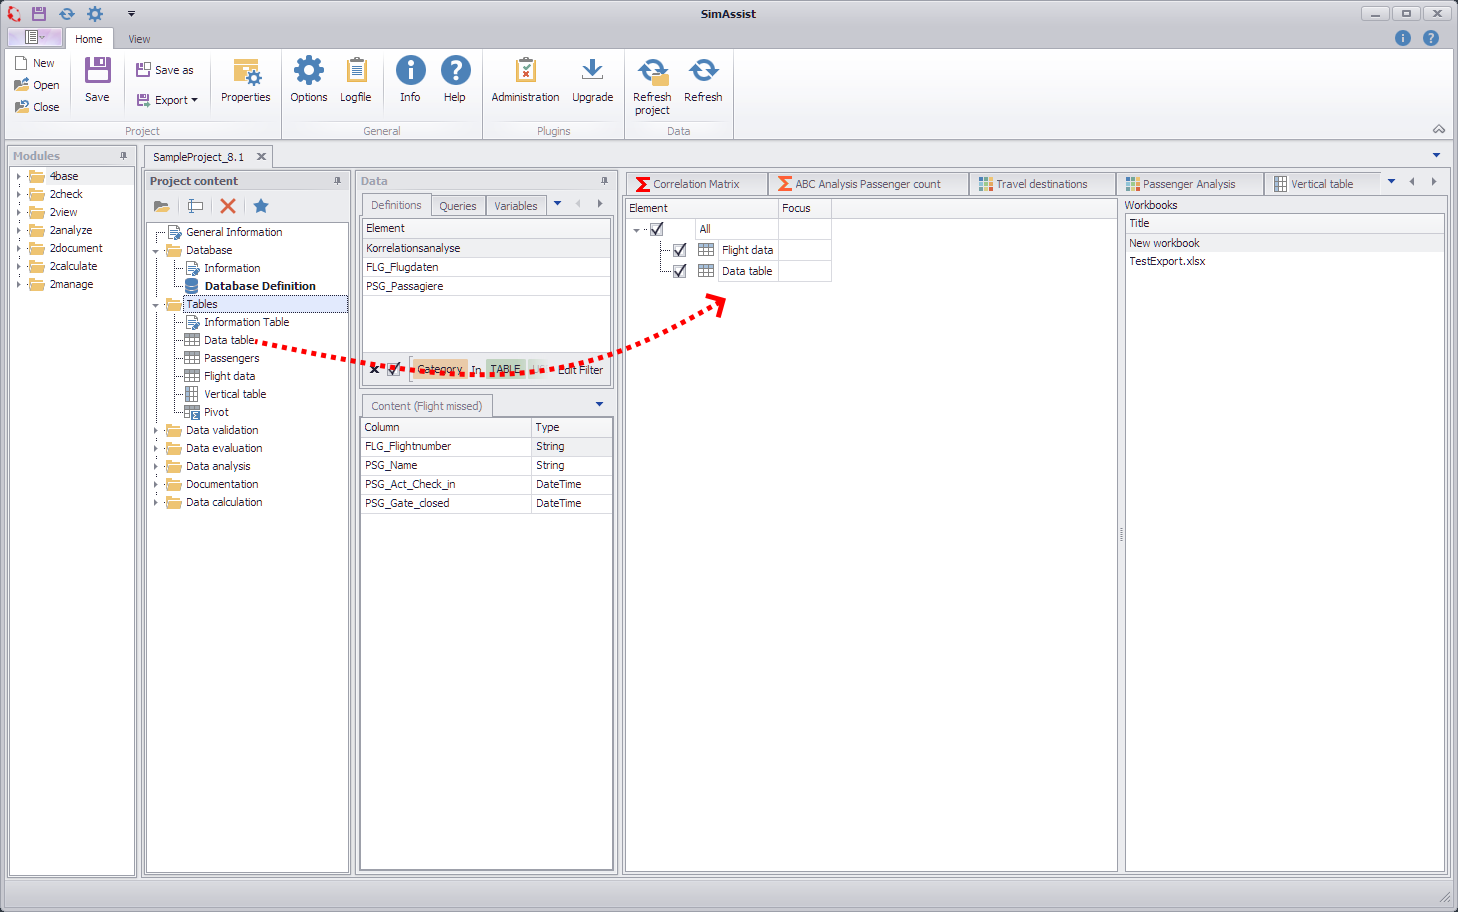
Figure 4 - Adding data
3.3 Sources and interaction area
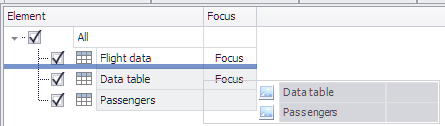
The names of the added sources are listed in the Element column and can be selected there for export. The Focus column is filled as soon as a table appears several times (at least once) in the Excel workbook.
By clicking on the Focus button in the respective row, the corresponding element is focused in the Excel workbook.
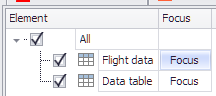
Figure 5 - Sources area
It is also possible to select several elements from the source area by holding down the CTRL key and changing their position using Drag&Drop.
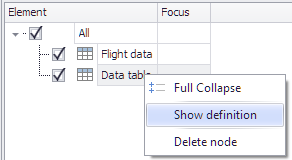
You can delete an element by right-clicking on it or switch to the source table (see Figures 6.1 and 6.2)
Figure 6.1 - Multiple selection and moving |
Figure 6.2 - Delete element |
Once all the necessary settings have been made, tables can be transferred to a Microsoft Excel workbook using the Export button.
The Excel software containing your tables will then open. You can now save the workbook and have successfully completed the export process.
3.5 Information for working with the plug-in
|
Information: The assignment of table to worksheet is done automatically by the algorithm. The user can no longer influence this. When exporting, each table is given a unique ID by which it is later identified. If a table in the exported workbook has been copied by the user, both tables are also found and updated by the algorithm. |
|
Information: To quickly find the desired element in the corresponding workbook, the Focus button in the Focus column can be used Here, attention must be paid to the respective selection of the prefix. To make it even easier to find the related tables, they can also be marked with different colors using the marking function. |
|
Information: The names of the spreadsheets in Excel may be a maximum of 31 characters long and must be unique. Ideally, the name is assigned the name of the plugin in the project tree. If this is not unique, a number is added in brackets. If the limit of 31 characters is exceeded, the name is set to 'Table (x)' or 'Table (x)'. |
© SimPlan AG - Hanau District Court, Commercial Register (Part B) 6845 - info@simplan.de - www.simplan.de/en