The modular structure of SimAssist not only applies to the individually configurable functional scope, but also to the user-configurable interface.
This means that you can adapt the SimAssist user interface to meet your specific requirements, using the integrated docking function.
You can individually position all windows within the frame application and even decoupled, and therefore outside the frame application, to adapt the software to suit your own personal working method.
You can use the Drag&Drop function to arrange the windows accordingly.
Contents
1. How to Decouple and Reposition a Window
2. How to Customize Window Positions
3. How to Use Windows Fully Decoupled
1. How to Decouple and Reposition a Window
You have three options for undocking a window from its current position and releasing it for docking:
•Double-click the title bar of the desired window
•Right-click the title bar of the desired window, and in the context menu that then appears, choose Release
•Left-click the title bar of the desired window and move this window while pressing and holding down the mouse button
Once a window has been decoupled, docking control elements will appear at various positions within the frame application, depending on the type of window (see Figure 1).
These elements indicate the positions to which the window can be re-docked and also provide the relevant docking function.
You can therefore move the decoupled window to one of the control elements shown, and SimAssist will highlight with a blue overlay the exact area in which the window will be positioned
if you choose to release the mouse button to dock it there. Below is a more detailed description of the docking function’s individual control elements.
Figure 1 - Docking function |
Figure 2 - Docking control element |


The directional pad shown in Figure 2 is the docking function’s main control element.
By moving the window you wish to position to one of the elements on the directional pad, you can dock it at the desired or selected position.
The center element positions the window over the entire area, for example. The directional pad only appears, however, when all positions are released for the relevant window.
If a window can be docked only at certain positions, only the individual docking elements for the target areas permitted will appear:
|
Docks the window on the left of the superordinate frame/window |
|
Docks the window at the top of the superordinate frame/window |
|
Docks the window on the right of the superordinate frame/window |
|
Docks the window at the bottom of the superordinate frame/window |
|
Docks the window centrally, that is, over the entire area currently selected in the superordinate frame/window |
2. How to Customize Window Positions
Figure 3 shows as an example a plug-in library (modules) that, contrary to the default configuration, has been docked at the right side, and not on the left of the frame application.
SimAssist saves your individually selected positions for all windows and automatically restores them when the software is restarted.

Figure 3 - Plug-in library docked at the right
3. How to Use Windows Fully Decoupled
You can at any time also choose to use windows that are not docked in a superordinate area, and thereby adapt the interface to your specific working conditions.
Figure 4 shows an example in which the plug-in library, project data area and project content area are in use, fully decoupled from the frame application.
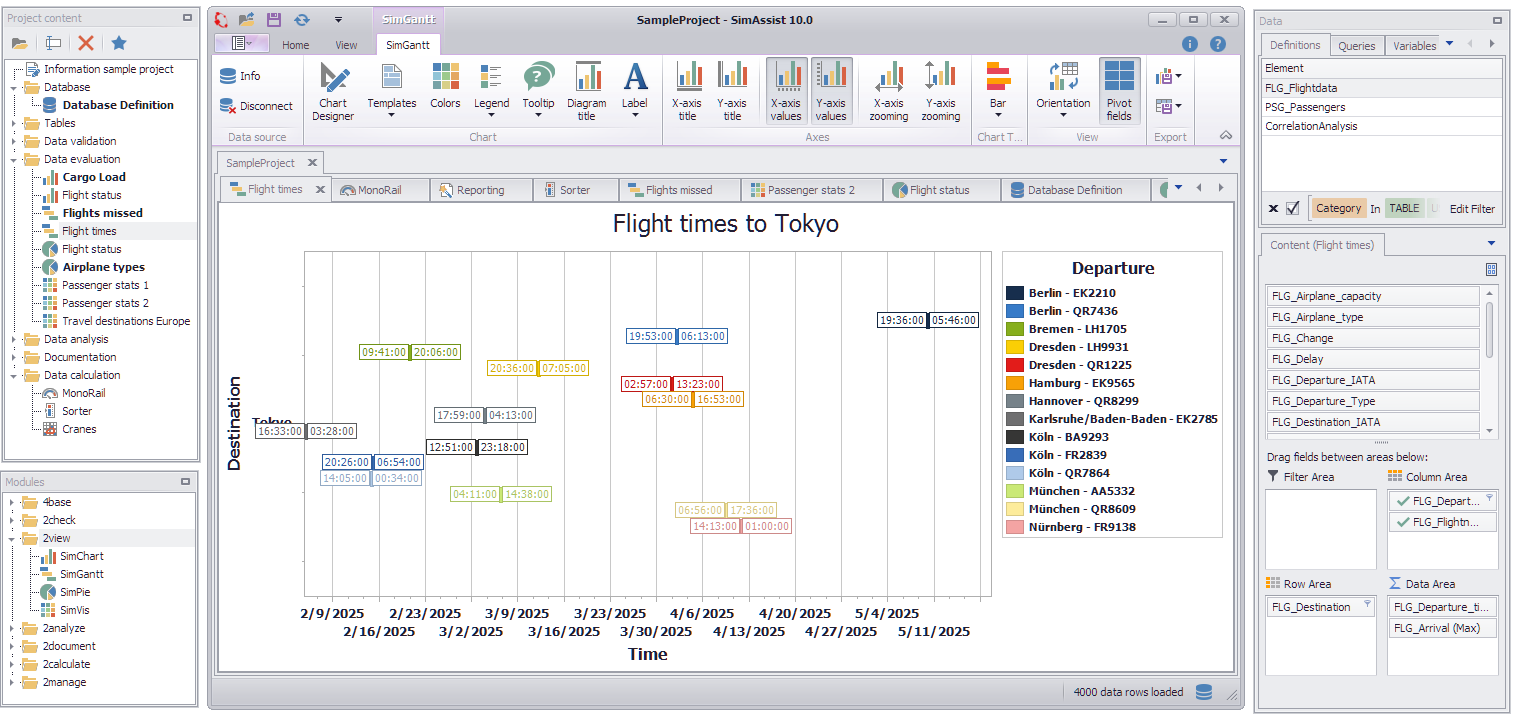
Figure 4 - Use windows decoupled
© SimPlan AG - Hanau District Court, Commercial Register (Part B) 6845 - info@simplan.de - www.simplan.de/en